Crochet Tools for Beginners: The Complete Starter Guide
A complete beginner’s guide to crochet hooks, yarn, stitch markers, needles and supplies—plus matching charts, buying mistakes, first-project setup and FAQs.
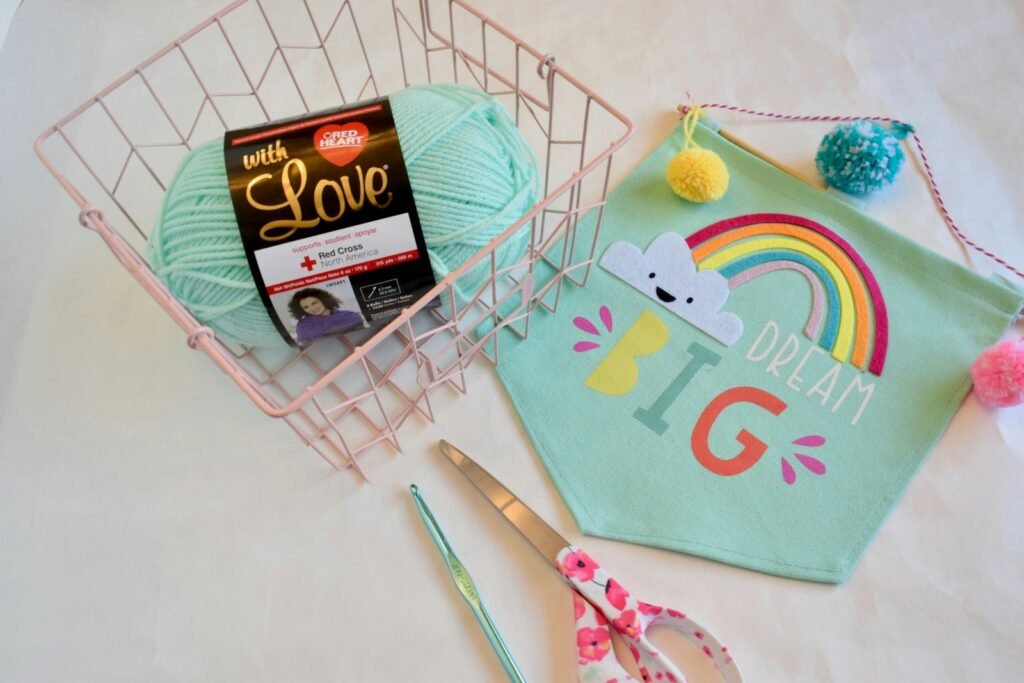
Starting crochet should not require a cart full of supplies. With one suitable hook, one easy-to-see yarn, and a few inexpensive finishing tools, you can learn the core motions and complete a real first project. This guide explains what every tool does, how hook size and yarn weight work together, what is worth buying now, and what can wait.
The best simple starter combination
Choose a 5 mm (H-8) ergonomic or aluminium hook and a light, solid-coloured, smooth medium-weight (#4) yarn. Add scissors, a blunt yarn needle, and locking stitch markers. That is enough for a washcloth, simple scarf, or granny square.
What you’ll learn
- The five-tool beginner kit
- How to choose a crochet hook
- How to choose beginner-friendly yarn
- How to match hook size to yarn
- Essential and optional accessories
- A first-project setup that works
- Common buying mistakes
- Beginner tool FAQs
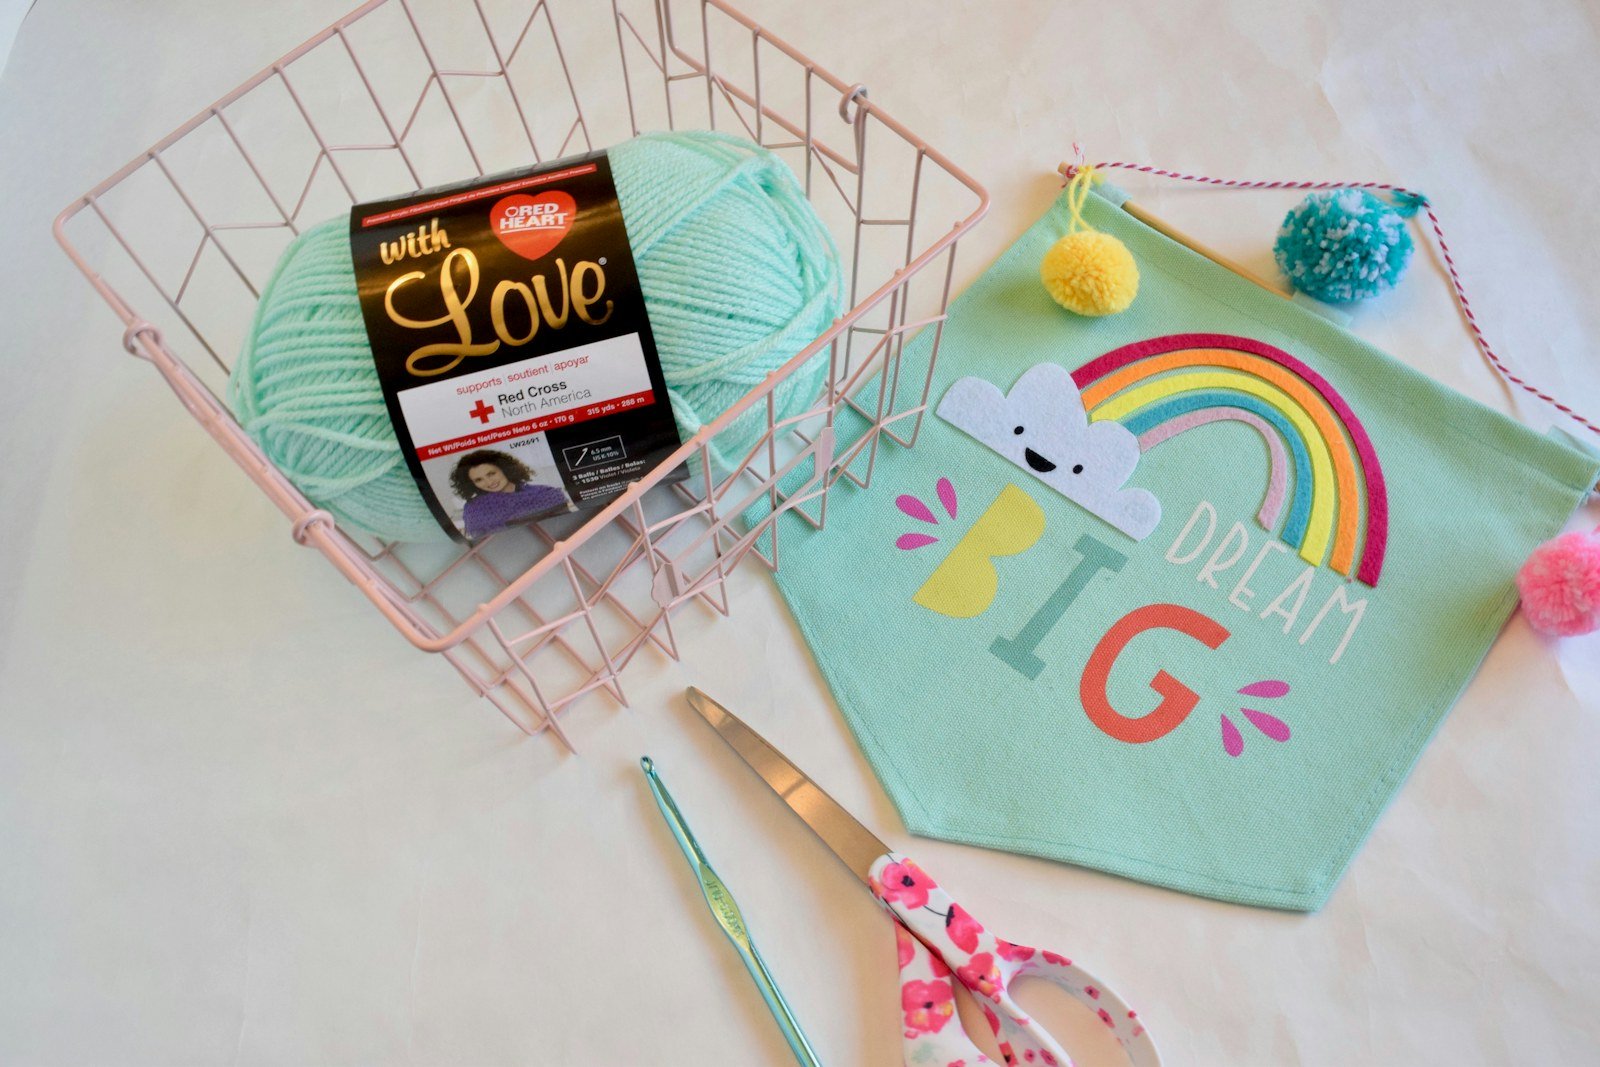
The beginner crochet kit: what you actually need
Beginners often assume a 50-piece set will make learning easier. Usually, it creates more decisions. Start with a small kit you understand and add tools only when a project gives you a reason.
| Tool | Best beginner choice | Why you need it |
|---|---|---|
| Crochet hook | 5 mm / US H-8, smooth aluminium or ergonomic grip | Forms and sizes every stitch |
| Yarn | Smooth medium-weight (#4), light solid colour | Makes stitch anatomy easy to see |
| Scissors | Small, sharp craft scissors | Cuts yarn cleanly without fraying |
| Yarn needle | Blunt tapestry needle with a large eye | Weaves in tails and joins pieces |
| Stitch markers | Locking or split-ring markers | Marks rows, rounds, repeats, and mistakes |
Helpful but not essential: a flexible tape measure and a row counter. You can use a ruler and tally marks until you know you enjoy the craft.
1. Crochet hooks: size, material, shape, and grip
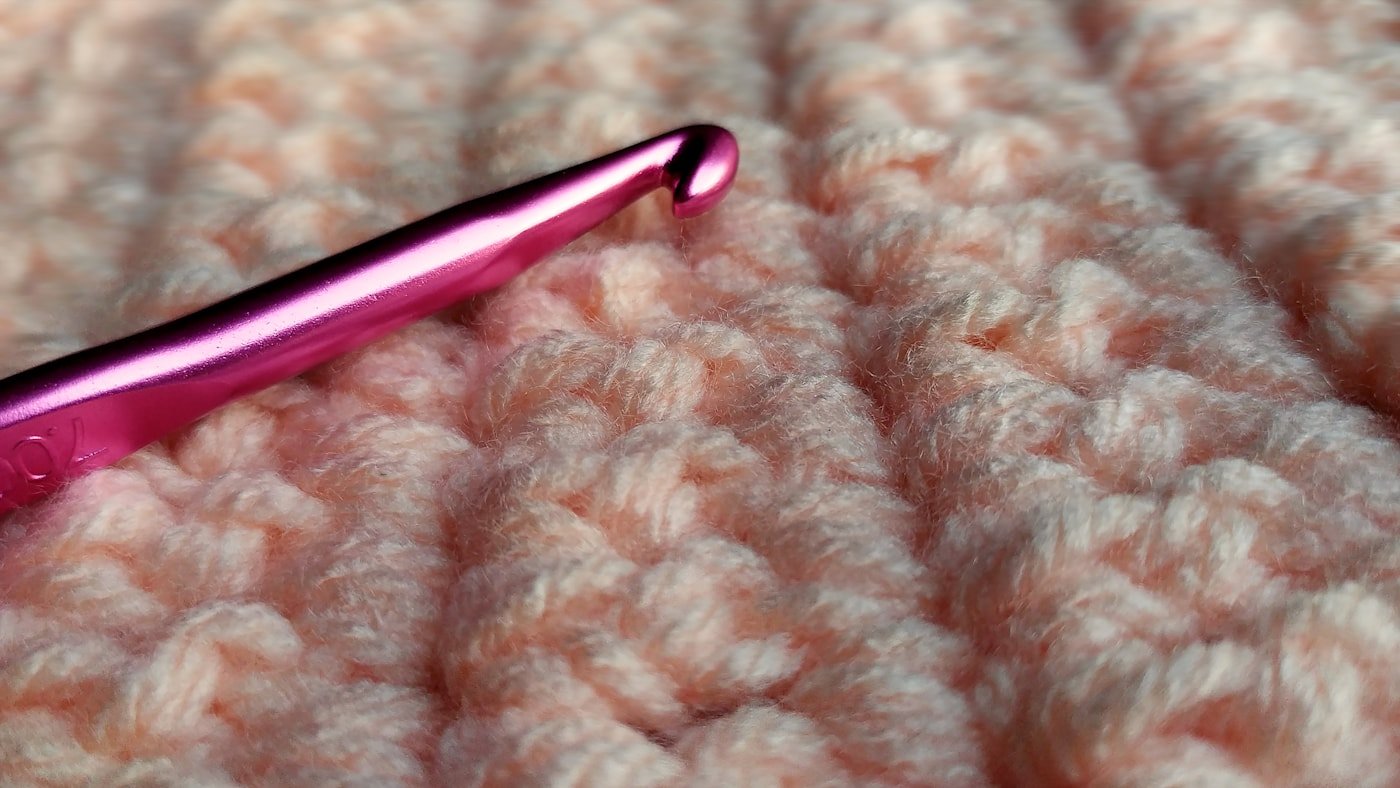
A crochet hook has five working areas: the head catches yarn, the throat guides it, the shaft determines loop size, the thumb rest offers control, and the handle supports your hand. Do not measure a stitch on the narrow throat; allow each loop to sit on the full shaft.
Inline versus tapered hooks
An inline hook generally has a deeper groove and a head that stays close to the shaft width. Some learners find it helps them make consistent loops. A tapered hook has a more rounded head and gradually narrowing throat; many crocheters find it glides through stitches smoothly. Neither is universally better. If your hook constantly splits yarn or catches, try the other head style before assuming your technique is wrong.
Knife grip versus pencil grip
With a knife grip, your palm faces down and the hook rests under your hand. With a pencil grip, you hold it more like a pencil. Both are valid. Choose the grip that keeps your wrist neutral and your fingers relaxed. Your grip may change with hook size or project type.
Hook materials compared
| Material | Feel | Best use | Beginner note |
|---|---|---|---|
| Aluminium | Smooth, light, fast | Most everyday yarns | Affordable and easy to find; an excellent first hook |
| Plastic or acrylic | Light, slightly flexible | Larger sizes and bulky yarn | Can feel less slippery, but inexpensive hooks may have seams |
| Bamboo or wood | Warm, grippy, quiet | Slippery yarns | Useful if loops slide off metal; inspect the tip for roughness |
| Steel | Very firm and precise | Thread crochet and lace | Tiny sizes are not ideal for a first lesson |
| Ergonomic handle | Shaped or cushioned grip | Longer sessions | Comfortable, but grip shape is personal |
Understanding hook sizes
The most dependable size is the metric diameter in millimetres. Letter and number systems vary by region and manufacturer. A label may show 5.0 mm, H-8, or both. If the markings disagree, follow the millimetre measurement and the project gauge rather than relying only on the letter.
Beginner recommendation: buy one comfortable 5 mm hook first. If you later choose a set, a practical everyday range is roughly 3.5–6.5 mm. Very small lace hooks and very large jumbo hooks can wait.
2. How to choose yarn you can learn with
For learning, yarn structure matters more than a fashionable colour or luxury fibre. You need to see the top “V” of every stitch, find the insertion point, and pull the hook through without catching separate fibres.
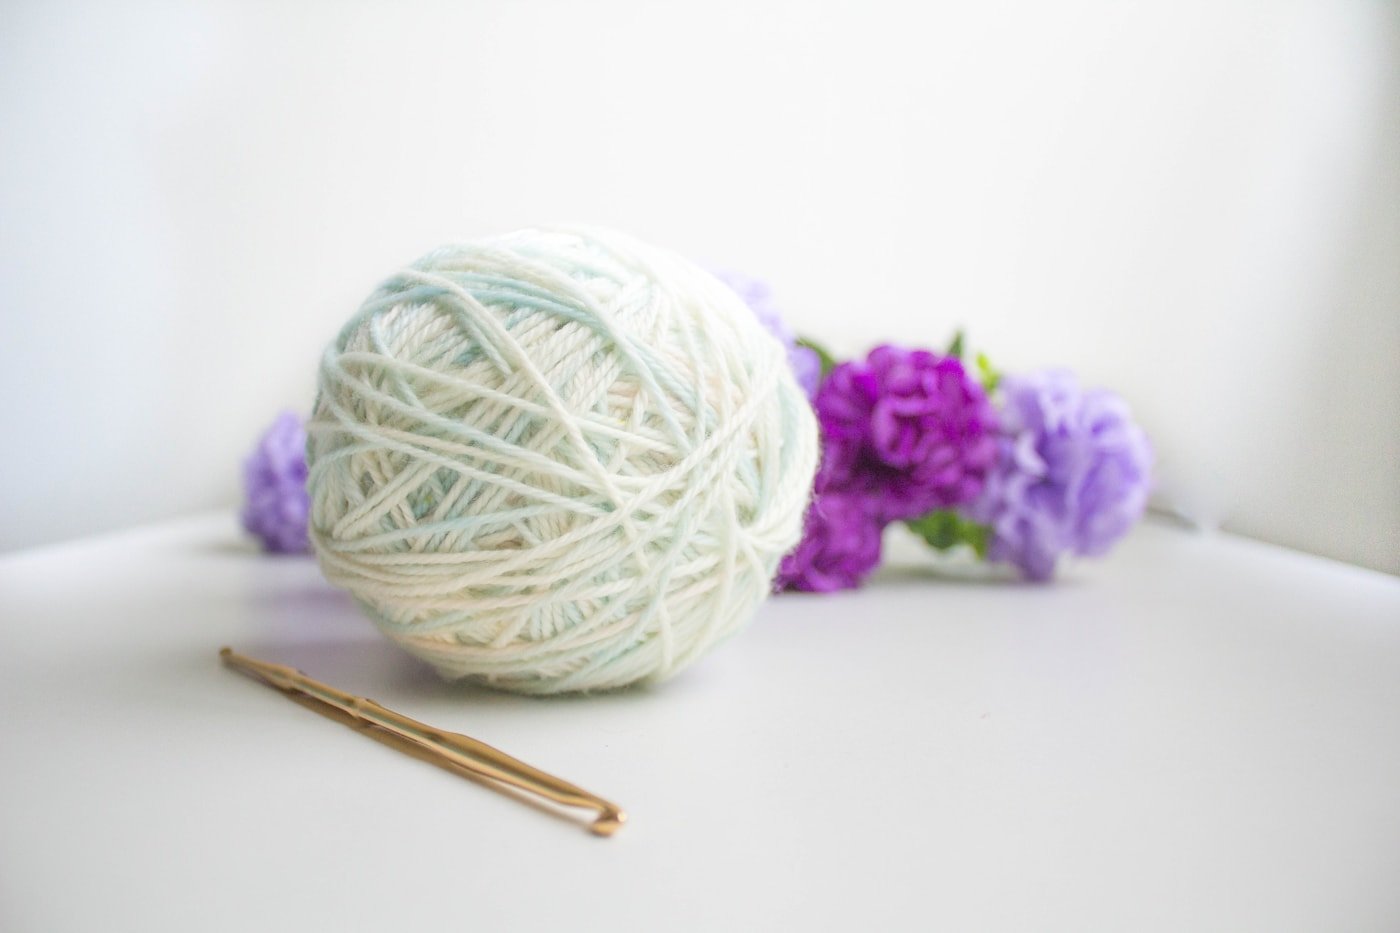
The easiest yarn profile
- Weight: medium/worsted/aran, commonly marked #4
- Colour: cream, pale blue, blush, mint, or another light solid
- Texture: smooth and evenly spun, with little halo or fuzz
- Fibre: acrylic, wool-acrylic blend, or cotton depending on the project
- Construction: a yarn that does not split easily when the hook enters it
Acrylic, cotton, or wool?
Acrylic is affordable, widely available, and forgiving for practice. It works well for granny squares and simple scarves. Cotton has excellent stitch definition and is ideal for washcloths, but it has less stretch and may tire a tight grip. Wool is resilient and warm, making it pleasant for scarves, though it may cost more and requires care. A smooth acrylic or acrylic blend is often the easiest all-purpose starting point; smooth cotton is excellent when the first project is a dishcloth.
Yarns to avoid for the first project
- Black, navy, and very dark shades that hide stitch openings
- Faux fur, chenille, eyelash, boucle, and other highly textured yarns
- Very fine thread that requires tiny hooks
- Loosely spun or single-ply yarn that splits easily
- Strongly variegated yarn when colour changes make stitches hard to read
How to read the yarn label
Look for the yarn weight symbol, recommended hook range, fibre content, ball weight, length or yardage, dye lot, and washing instructions. The recommended hook is a starting point, not a rule. Your pattern’s gauge and your own tension decide the final size.
- Weight category predicts thickness, not the physical weight of the ball.
- Yardage/metres tells you how much yarn is in the ball and is more useful than ball weight when comparing yarns.
- Dye lot identifies yarn dyed together. Buy enough of one lot for projects where small colour differences would show.
- Care symbols matter before you make something washable, especially baby items and garments.
3. Matching yarn weight, hook size, and fabric
A hook does more than “fit” yarn. It controls the size of the loops and therefore the density and drape of the fabric. A smaller hook usually creates firmer, denser fabric; a larger hook usually creates a looser, softer fabric. Always treat the ranges below as starting points and follow the pattern when one is provided.
| Yarn category | Common description | Typical starting hook range | Common uses |
|---|---|---|---|
| #1 | Super fine / fingering | 2.25–3.5 mm | Light accessories, fine garments |
| #2 | Fine / sport | 3.5–4.5 mm | Baby clothes, light garments |
| #3 | Light / DK | 4–5 mm | Garments, hats, baby blankets |
| #4 | Medium / worsted / aran | 5–6.5 mm | Best learning range; scarves, squares, home projects |
| #5 | Bulky | 6.5–9 mm | Quick hats, cowls, blankets |
| #6 | Super bulky | 9–15 mm | Fast blankets and chunky accessories |
Gauge: the small test that prevents large problems
Gauge is the number of stitches and rows within a measured area, commonly 10 cm or 4 inches. Make a swatch larger than the measured area, relax or wash it as the pattern instructs, then measure the centre.
- If you have too many stitches in the measurement, your stitches are too small: try a larger hook.
- If you have too few stitches, your stitches are too large: try a smaller hook.
- For a washcloth, exact gauge may be unimportant. For a hat, sweater, or fitted item, it is essential.
4. Small tools that save time and frustration
Yarn needles
Choose a blunt tapestry needle with an eye large enough for your yarn. Metal needles slide easily and last well; plastic needles are light and inexpensive. A bent-tip needle can make weaving through dense stitches easier. Use the needle to weave each yarn tail through several directions so it does not work loose.
Stitch markers
Use markers that open. A closed ring can become trapped in crochet fabric. Mark the first stitch in spiral rounds, the beginning and end of pattern repeats, button placement, or the last correct row before you pause. You can also clip a marker into the working loop to stop a project from unravelling in your bag.
Scissors and tape measure
Sharp scissors leave a clean tail that is easier to thread through a needle. Keep them for yarn rather than paper. A soft tape measure bends around hats, sleeves, and three-dimensional pieces. Avoid stretching either the fabric or tape while measuring.
Nice later, unnecessary now
| Optional tool | Buy it when… |
|---|---|
| Hook gauge | Size markings have worn off your hooks |
| Row counter | You work long repeated sections or frequently lose count |
| Blocking mats and pins | You make motifs, lace, garments, or pieces that need shaping |
| Yarn winder and swift | You regularly buy yarn in hanks or rewind leftovers |
| Project bag | You carry work and need to protect it from snags |
| Stitch dictionary | You understand the basics and want to design or explore textures |
5. Set up a first project for success
A good first project is small enough to finish, repetitive enough to build muscle memory, and useful enough to feel rewarding. A cotton washcloth or practice square is better than a fitted garment because a small variation in tension will not ruin the result.
Recommended first-project formula
- Choose smooth, light-coloured #4 yarn.
- Use the label’s suggested size or start with a 5 mm hook.
- Make a chain, keeping each loop large enough to move along the shaft.
- Work rows of single crochet or half double crochet.
- Place a marker in the first and last stitch of every row.
- Count stitches after each row, not ten rows later.
- Stop every 15–20 minutes at first, loosen your grip, and reset your posture.
- Finish by fastening off and weaving in the tails with a yarn needle.
A comfortable working position
Support your forearms, keep shoulders relaxed, and bring the project toward you instead of curling your neck toward it. The hook should move without a white-knuckle grip. Discomfort is a reason to stop and adjust—not something to push through.
6. Seven common beginner buying mistakes
- Buying every hook size immediately. One or two project-specific hooks teach you more than a large unknown set.
- Choosing yarn because it feels fluffy. Fuzz hides loops and makes undoing mistakes difficult.
- Learning with dark yarn. Save it until you can identify stitches by touch and shape.
- Assuming the label’s hook size guarantees gauge. It is only a recommendation.
- Using knitting needles to weave tails. A large-eye tapestry needle is safer and easier.
- Buying closed stitch rings. Locking markers are removable and work better for crochet.
- Ignoring comfort. A different handle, hook material, grip, or yarn tension can solve problems that practice alone will not.
7. Care and organization
Wipe hooks with a soft dry cloth and keep wooden hooks away from moisture and rough surfaces. Store hooks together so their size labels are easy to find. Keep needles and markers in a small closed case. Save each yarn label with the remaining yarn—or photograph it—so you retain fibre, colour, dye-lot, and washing information.
Frequently asked questions
Is a 5 mm hook always best for beginners?
It is a versatile starting point with medium-weight yarn, but the yarn label and chosen pattern should guide you. A smooth 4–6 mm setup is generally easier to see and control than very small thread hooks.
Do left-handed crocheters need special hooks?
No. Standard crochet hooks work in either hand. Left-handed instruction should mirror the hand movements and stitch direction, not require different equipment.
Is an ergonomic hook necessary?
No. Many people crochet comfortably with a plain aluminium hook. An ergonomic handle may help if a thin shaft feels hard to control, but handle shape and firmness are personal.
Why does my hook keep splitting the yarn?
The yarn may be loosely spun, the hook head may be too sharp for it, or you may be inserting the hook through the yarn instead of under the intended loops. Slow down, rotate the hook slightly, and test a smoother yarn or different hook head.
Why are my stitches too tight to enter?
You may be pulling the working yarn after every stitch or forming loops on the narrow throat rather than the shaft. Relax your yarn hand, slide each new loop onto the shaft, and consider a larger hook while practising.
Should I buy a crochet hook set?
Buy a set after you know which handle and head style you enjoy. Before then, one quality hook in the size needed for your first project is a better test and often a better value.
How much yarn do I need to practise?
One standard ball of medium-weight yarn is plenty for learning stitches and making several swatches. For a specific finished project, use the pattern’s required yardage and buy a little extra in the same dye lot.
Your beginner shopping checklist
- ☐ 5 mm crochet hook
- ☐ One light-coloured ball of smooth #4 yarn
- ☐ Small sharp scissors
- ☐ Blunt large-eye yarn needle
- ☐ Five to ten locking stitch markers
- ☐ Optional flexible tape measure
- ☐ One simple washcloth, square, or scarf pattern
Keep the basics beside you
Download the free Crochelly Stitch Cheat Sheet for common stitch abbreviations and quick reminders while you practise.
Editorial note: Product prices, sizes, and labelling systems can vary by brand and location. Crochelly recommends choosing tools for the project and your comfort rather than buying the largest kit.