How to Fix a Snag: First Aid for Handmade Crochet
Fix pulled loops and crochet snags safely with simple tools and clear repair steps that protect the surrounding stitches.
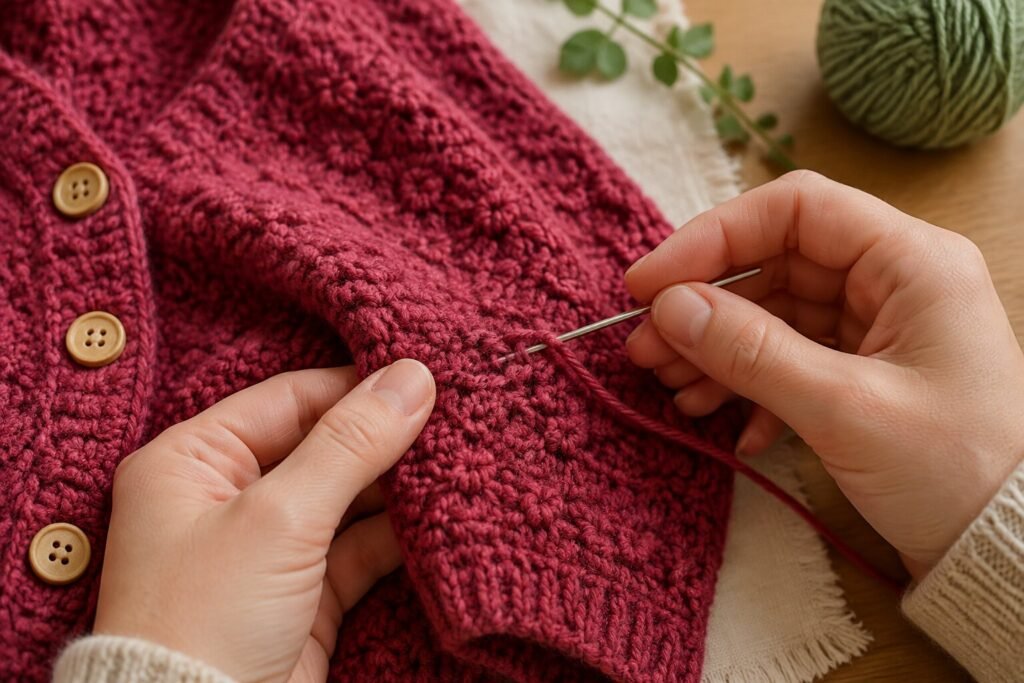
A snag in a handmade crochet piece is not a disaster. It is an opportunity — an invitation to understand how the piece is constructed and to put that understanding to practical use. Unlike machine-made fabric, where a snag often means the beginning of a hole that cannot be stopped, crochet is repairable in ways that most people do not realise.
The structure of crochet — individual stitches, each one complete in itself — means that a problem in one area rarely compromises the integrity of the surrounding fabric. With the right tools and the right technique, most crochet damage can be repaired to the point where it is invisible, or very nearly so.
This guide covers the most common types of crochet damage and exactly how to fix each one.
Understanding the Types of Crochet Damage
A Pulled Loop
A single loop of yarn pulled out of position without breaking. The stitch is still intact — it just looks uneven.
Easy Fix
A Broken Yarn
The yarn strand has snapped. The stitch structure around it is still intact but the break needs to be secured immediately.
Moderate Fix
A Small Hole
One or more stitches have unravelled creating an opening. The surrounding stitches are still secure.
Moderate Fix
A Loose End Working Free
A yarn tail that was not woven in securely enough has begun to come loose and is pulling out of the fabric.
Easy Fix
Pilling
Small balls of fibre forming on the surface. Not structural damage — a surface issue caused by friction.
Easy Fix
A Large Hole or Run
Multiple stitches have unravelled creating a significant opening. Requires reconstruction of the missing stitches.
Advanced Fix
Your Crochet First Aid Kit
Having the right tools available when you discover damage means you can address it immediately rather than letting it worsen. Keep these items together in a small pouch:
Yarn Needle
Blunt-tipped tapestry needle for weaving in ends and working through stitches.
Small Crochet Hook
A fine hook (2mm–3mm) for pulling loops back through stitches and reconstructing small areas.
Small Sharp Scissors
For trimming yarn tails cleanly and precisely without cutting surrounding stitches.
Matching Yarn
Keep a small amount of the original yarn from each piece for repairs. Matching fibre and colour is essential.
Magnifying Glass
For working with fine yarn or identifying exactly which stitches have been affected.
Stitch Markers
To mark the boundaries of a repair area and prevent inadvertently working into the wrong stitches.
Repair Guides — Step by Step
Fixing a Pulled or Snagged Loop
The most common and easiest crochet repair
A pulled loop occurs when a strand of yarn is caught on something — a zipper, a jewellery clasp, a rough surface — and pulled out of its natural position in the fabric. The stitch itself is not broken. The yarn is still intact. It has simply been displaced and needs to be worked back to its correct position.
The most important rule: never cut a pulled loop. The loop is not extra yarn — it is yarn pulled from the surrounding stitches, which will leave those stitches too short if the loop is removed.
- Identify the pulled loop and locate the stitches on either side of it that appear looser than normal — these are where the displaced yarn came from.
- Using a blunt yarn needle or fine crochet hook, gently ease the excess yarn in the pulled loop back into the surrounding stitches by pulling at the base of each adjacent stitch.
- Work gradually outward from the pulled area — distributing the excess yarn evenly through several stitches in both directions until the pulled loop disappears into the fabric.
- If a small loop of yarn still appears on the surface after redistributing, use a yarn needle to thread it through to the wrong side of the fabric. Weave in a few stitches to secure it there.
- Steam or lightly mist the repaired area and pat flat with your hands. The stitches will settle back into their correct position as the fabric dries.
Securing a Loose Yarn End
Preventing a small issue from becoming a large hole
A yarn tail working itself loose means the end was not woven in securely enough during finishing. This is not a structural failure of the piece — it is a finishing issue. If caught early, before the tail has pulled out significantly, it can be re-secured in five minutes. Left unaddressed, a loose end will continue to pull and can eventually unravel the surrounding stitches.
- Do not pull the loose end — this will cause more yarn to pull out from the surrounding stitches. Instead, identify how much tail is available to work with.
- If there is at least 4 to 5 inches of tail available, thread it onto a yarn needle.
- Weave the tail through the back loops of at least 4 to 5 stitches in one direction, following the natural path of the yarn through the fabric.
- Reverse direction and weave back through another 4 to 5 stitches. This zigzag pattern locks the end from both directions and prevents it from pulling free again.
- Trim the excess tail close to the fabric — but not so close that you cut into the woven section. Leave 2 to 3 millimetres.
- If there is very little tail remaining — less than 2 inches — thread a length of matching yarn onto your needle and weave it through the area around the loose end, anchoring the short tail in place as you go.
Repairing a Small Hole
Reconstructing one to three lost stitches
A small hole typically results from a broken yarn or a loose end that was not caught in time. The key to an invisible repair is using matching yarn and working to the same tension as the surrounding fabric. Work slowly and compare frequently to the adjacent stitches.
- Place stitch markers on the stitches on either side of the hole to clearly mark the boundaries of the repair area.
- Cut a length of matching yarn — approximately 18 inches for a small repair. Thread one end onto a yarn needle and leave the other end as a working yarn.
- Secure the yarn by weaving the needle end through several stitches on the wrong side adjacent to the hole, ending with the needle emerging at the base of the repair area.
- Using a small crochet hook, work replacement stitches across the hole, matching the stitch type of the surrounding fabric — single crochet, double crochet, or whatever stitch is used in that area of the piece.
- Work to the same tension as the surrounding stitches. Check your tension frequently by comparing the repair area to the adjacent intact stitches.
- Once the hole is filled, weave in both yarn tails thoroughly in both directions. Steam or mist the repaired area lightly and allow to dry flat.
The Matching Yarn Rule
An invisible repair requires yarn that matches the original not just in colour but in fibre content, weight, and twist direction. This is why we recommend keeping a small amount of the original yarn from every piece. A repair made in a slightly different yarn — even the same colour — will always be visible in certain lights.
Removing Pilling
Restoring a smooth, even surface to natural fibre pieces
Pilling — small balls of tangled fibre that form on the surface — is a natural characteristic of certain natural fibres, particularly merino wool and alpaca. It is not a sign of poor quality. It is a sign of genuine natural fibre. Pilling occurs most often in high-friction areas: underarms, sides, and anywhere the piece rubs regularly against other fabric.
Pilling does not damage the structural integrity of the piece. It is purely a surface issue and is easily addressed.
- Lay the piece flat on a clean surface in good light. Never try to remove pills from a piece being worn — the tension from pulling can distort the stitches.
- Use a fabric shaver (also called a lint shaver or bobble remover) on the lowest setting. Move it in gentle circular motions over the pilled areas, applying very light pressure — never press hard into the fabric.
- Alternatively, use a fine-toothed comb or a natural bristle brush to gently lift and separate the pills from the surface, then remove them individually with small scissors — cutting as close to the fabric as possible without cutting the yarn itself.
- After de-pilling, lightly mist the treated area with water and smooth with your hands. Allow to dry flat.
- To prevent future pilling: wash inside out, use a mesh laundry bag for machine-washable items, and store pieces folded rather than hanging, which prevents the fibres from rubbing.