Easy Petal Granny Square: A Simple 6-Petal Crochet Pattern
Crochet a pretty six-petal flower granny square in five easy rounds. This beginner-friendly pattern includes US terms, stitch counts, and simple finishing tips.
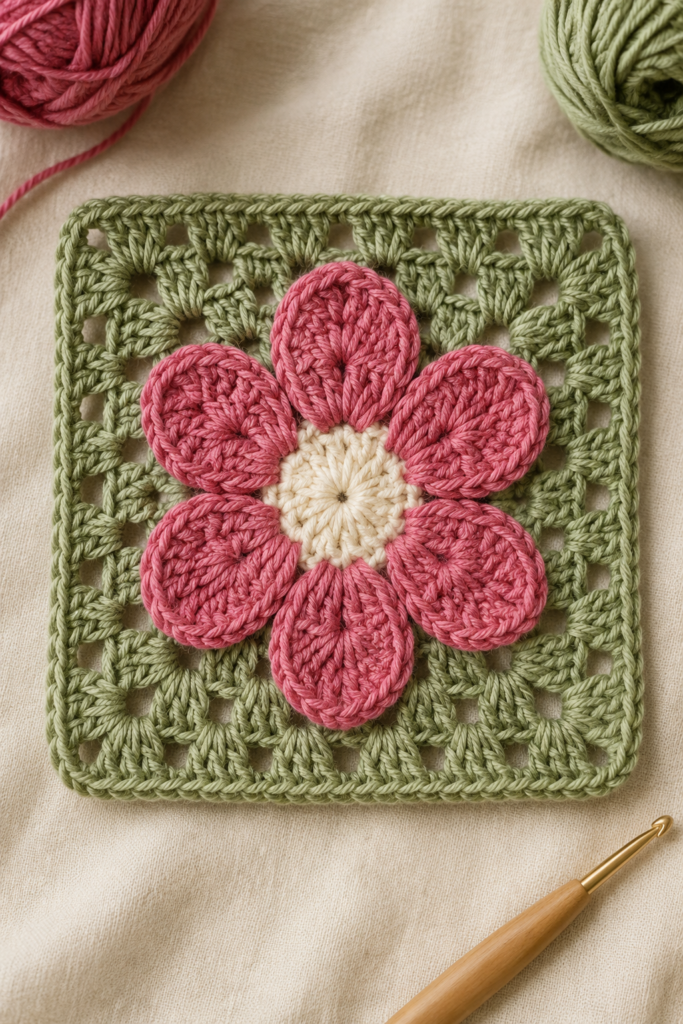
Want a flower granny square that looks pretty but is still easy to follow? This simple version uses six petals, a small flower center, and a classic square border. The balanced six-petal shape removes the awkward counting found in many five-petal squares.
The pattern is written in US crochet terms. Read each round once before you begin, and check the stitch count at the end of the round.
Pattern at a glance
- Skill level: Easy / confident beginner
- Time: About 45 minutes
- Finished size: Approximately 11–12 cm (4½ in) with DK yarn
- Construction: Worked in five joined rounds
- Terms: US crochet terminology
Materials
- DK yarn in three colors: center, petals, and background
- 3.5 mm crochet hook
- Yarn needle
- Scissors
- Stitch marker (optional)
Use yarns of the same weight so the square lies flat. Cotton gives crisp stitch definition, while acrylic makes a softer square.
Abbreviations
- ch — chain
- sl st — slip stitch
- sc — single crochet
- hdc — half double crochet
- dc — double crochet
- sp — space
- st(s) — stitch(es)
Easy petal granny square pattern
Round 1: Flower center
With the center color, make a magic ring. Ch 2 (does not count as a stitch), work 12 dc into the ring, then sl st to the first dc. Pull the ring closed and fasten off.
Check: 12 dc.
Round 2: Six petals
Join the petal color in any stitch. In the same stitch work (sc, hdc, 2 dc, hdc, sc). Sl st in the next stitch. Repeat the petal in the following stitch, then sl st in the next stitch. Continue around and join with a sl st. Fasten off.
Check: 6 petals, each worked into one stitch, with one unused center stitch between petals.
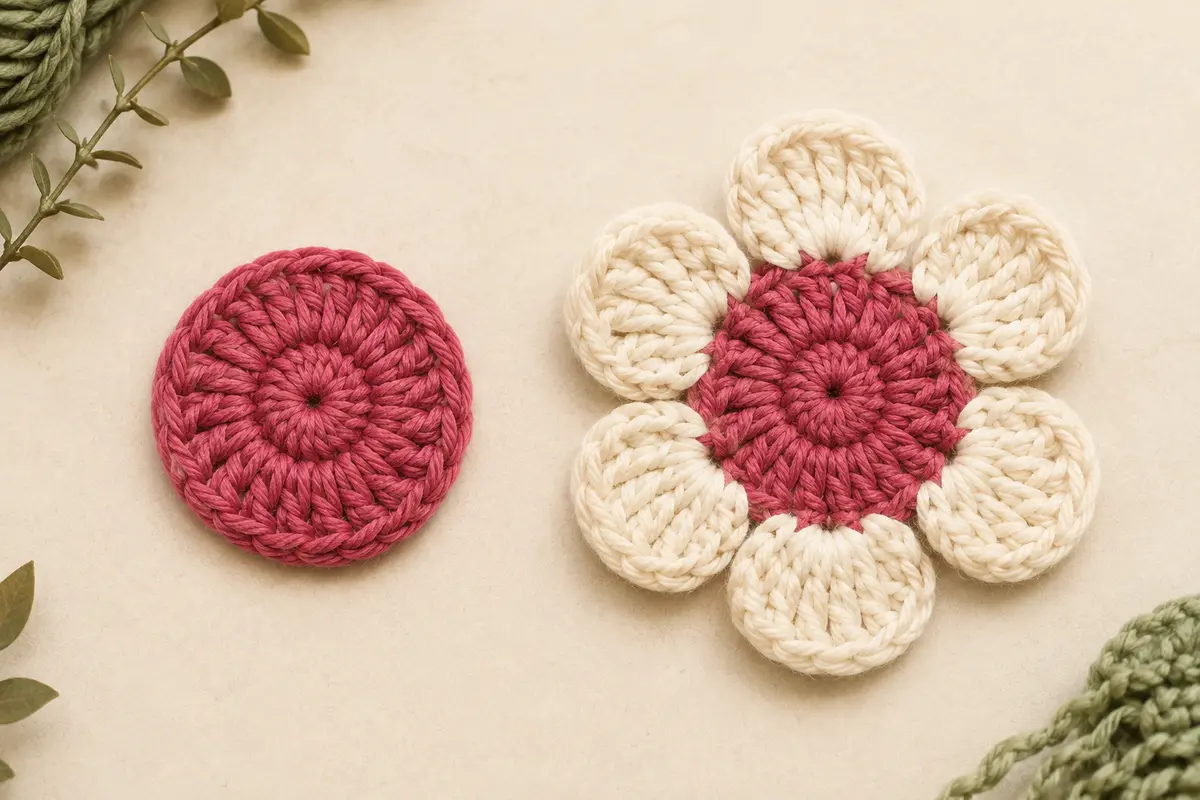
Round 3: Make a circle around the flower
Join the background color in the gap between any two petals, working behind the petals. Ch 3 (counts as dc), work 2 dc in the same gap, then ch 2. In each remaining gap work 3 dc, ch 2. Join to the top of the beginning ch 3.
Check: 6 groups of 3 dc and 6 ch-2 spaces.
Round 4: Turn the circle into a square
Sl st to the next ch-2 space. Ch 3, then work (2 dc, ch 2, 3 dc) in that space to make the first corner. Ch 1, work 3 hdc in the next ch-2 space, ch 1. In the next space work (3 dc, ch 2, 3 dc) for the second corner. Repeat the side and corner sequence twice more. Join to the top of the beginning ch 3.
Check: 4 corners and one 3-hdc group centered on each side.
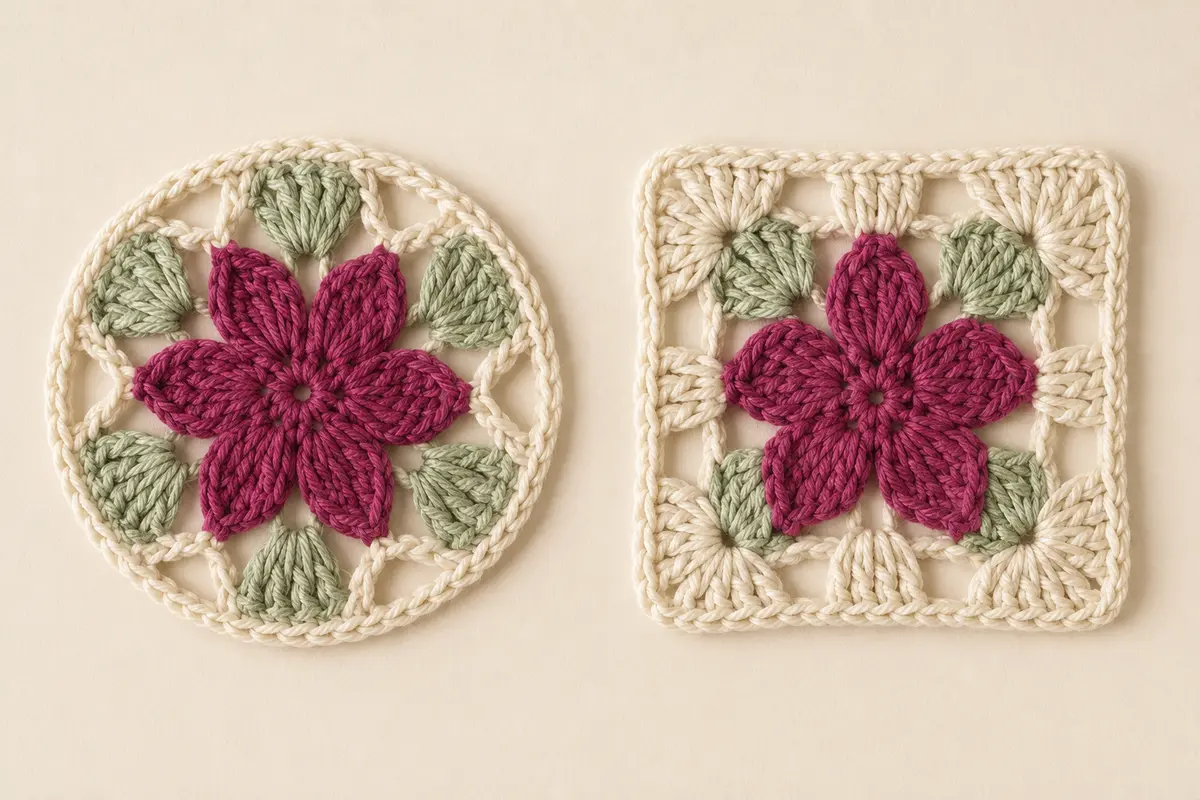
Round 5: Simple border
Ch 1. Sc in every stitch and every ch-1 space around. In each corner ch-2 space, work (sc, ch 2, sc). Join to the first sc and fasten off.
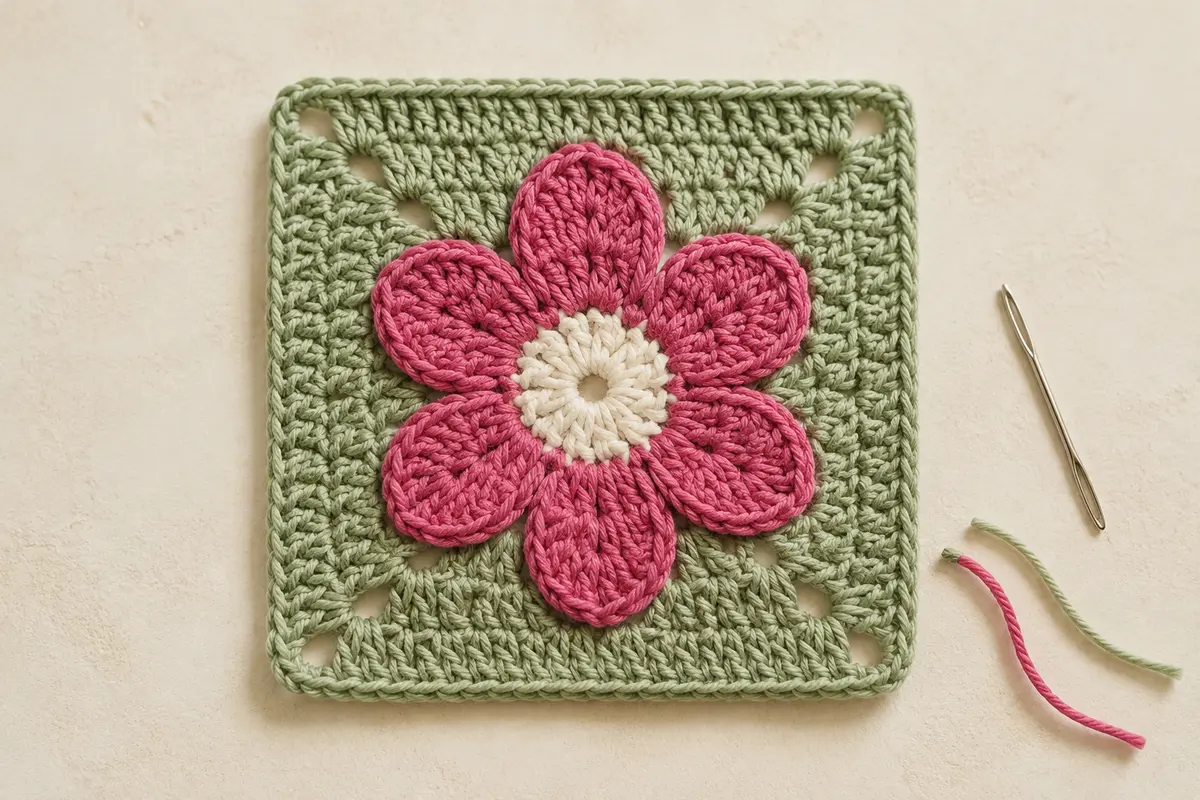
Weave in all ends, dampen the square lightly, and pin the four corners into shape until dry.
Helpful tips
- If the flower cups, use a slightly larger hook for the petal round.
- If the border ripples, check that you made only one hdc group on each side in Round 4.
- Place a marker in each corner before Round 5 if the corners are difficult to spot.
- For a larger square, repeat granny-style border rounds before adding the final single-crochet edge.
Ways to use your square
Make one square for a coaster or pocket, four for a small cushion front, or join many squares for a baby blanket, tote bag, cardigan, or table runner. Keep the background color consistent for a calm look, or use leftover yarn for a bright patchwork effect.
Frequently asked questions
Can I use worsted-weight yarn?
Yes. Try a 4.0–4.5 mm hook. Your finished square will be larger, so make a test square before starting a joined project.
Do I have to use a magic ring?
No. Chain 4, join with a slip stitch to form a ring, and work Round 1 into that ring.
Why is my square not flat?
First confirm that all yarn colors are the same weight. Then check the six spaces in Round 3 and the four corner spaces in Round 4. Gentle blocking will correct small uneven areas.