How to Read a Crochet Pattern Without Losing Your Mind
Learn how to decode crochet abbreviations, repeats, brackets, sizing notes and pattern structure with a practical step-by-step approach.
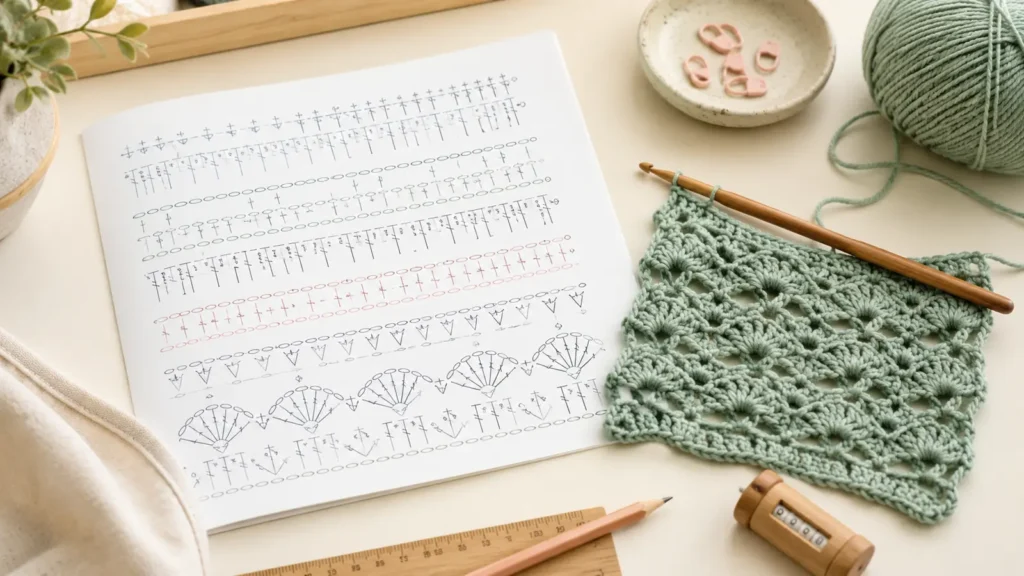
You found the PERFECT crochet pattern. You open it up. And it reads like: “Ch 3, dc in same st, *ch 1, skip 1, (3dc, ch2, 3dc) in next ch-2 sp; rep from * to last 3 sts, dc2tog, turn.” — And you slowly close the tab. We’ve all been there. Today that ends. 🧶
First: Understand That Patterns Are Just Instructions in Code
Here’s the mindset shift that changes everything: crochet patterns aren’t written to confuse you. They’re written in a compressed shorthand because writing out every step in full sentences would make a 3-page pattern into a 30-page book. Once you learn the code, patterns become incredibly clear — sometimes even beautiful in their precision.
Think of it like learning a new language. At first it’s gibberish. Then individual words start making sense. Then sentences. Then you’re reading fluently without even thinking about it. Crochet pattern language works exactly the same way.
The Anatomy of a Crochet Pattern
Every well-written pattern has the same sections. Learn to recognize them:
-
Header / Title
The project name, designer, skill level rating, and sometimes a brief description. Always note the skill level — it’s your first preview of what’s ahead. -
Materials List
Yarn type, weight, and yardage needed. Hook size. Any additional supplies (stitch markers, tapestry needle, buttons, etc.). Read this BEFORE buying yarn. -
Gauge / Tension
How many stitches and rows should measure a specific dimension (usually 4×4 inches) using the recommended yarn and hook. Critical for anything size-dependent. Sometimes marked “gauge is not critical” for things like dishcloths or bags — bliss! -
Abbreviations / Special Stitches
A list of all the abbreviations used and what they mean. Always READ THIS SECTION FIRST before starting the actual instructions. Some patterns use unusual or custom abbreviations. -
Notes / Pattern Notes
Important extra information — whether the turning chain counts as a stitch, which direction to work, color change notes. Don’t skip this! -
The Pattern Instructions
The actual row-by-row or round-by-round instructions. This is what most people jump to first — which is why they get confused. -
Finishing Instructions
How to complete the project: seaming, blocking, adding buttons or zippers, embellishments. Often underestimated in importance.
Read the ENTIRE pattern from start to finish before you start crocheting a single stitch. This feels tedious. It saves you from crocheting 80% of a project before discovering a crucial instruction you misunderstood from the beginning.
The Master Abbreviation Cheat Sheet
Here are the most common crochet abbreviations used in US patterns:
| Abbreviation | Full Name | Description |
|---|---|---|
| ch | Chain | The foundational stitch — the building block of everything |
| sl st | Slip Stitch | The shortest stitch; used to join rounds or move without height |
| sc | Single Crochet | Short, dense stitch. One loop up, one pull-through, one pull-through |
| hdc | Half Double Crochet | Slightly taller than sc. Yarn over before inserting hook |
| dc | Double Crochet | The most versatile stitch. Twice the height of sc |
| tr | Treble (Triple) Crochet | Three times the height of sc. Tall and dramatic |
| dtr | Double Treble Crochet | Even taller — used in lacework and fancy motifs |
| st(s) | Stitch(es) | Refers to individual stitches in a row/round |
| sp | Space | The gap created by a chain space — you work INTO the space, not the chain |
| ch-sp | Chain Space | Specifically refers to the space made by a chain |
| inc | Increase | Working 2 stitches into 1 stitch (adds width) |
| dec | Decrease | Working 2 stitches together as 1 (reduces width) |
| sc2tog | SC 2 Together | Single crochet decrease — closes 2 stitches into 1 |
| dc2tog | DC 2 Together | Double crochet decrease |
| MR | Magic Ring | Adjustable ring start used for working in rounds |
| BLO | Back Loop Only | Work into only the back loop of the stitch — creates ribbing effect |
| FLO | Front Loop Only | Work into only the front loop — creates different texture |
| rep | Repeat | Repeat the sequence described |
| pm | Place Marker | Put a stitch marker here to mark your place |
| turn | Turn | Flip your work to begin the next row |
Decoding Pattern Symbols
These punctuation marks and symbols have VERY specific meanings:
Work the stitches between the asterisks, then repeat them as directed. The most common repeat marker in crochet patterns.
Work ALL the stitches listed inside them into the SAME stitch or space. Example: “(3dc, ch2, 3dc) in next ch-sp” = all 8 of those stitches go into one space.
The stitch count at the end of a row or round. Count your stitches and make sure you have exactly this many. If you don’t — find the mistake before moving on!
Everything after the colon is the instruction for that specific row or round. Simple as that.
A Real Pattern Example — Let’s Decode It Together
// Simple Granny Square Round 2
Round 2: Join new color in any ch-2 sp. Ch 3 (counts as dc), 2dc in same sp, ch 2, 3dc in same sp,
*ch 1, (3dc, ch 2, 3dc) in next ch-2 sp; rep from * 2 more times, ch 1, sl st to top of beg ch-3. (48 sts)
Start a new color by joining it into any corner space (the ch-2 space). Chain 3 (this chain acts as your first double crochet, not a chain). Make 2 more double crochets into the same corner space, then chain 2 to make a new corner. Make 3 double crochets into the same corner space again (you’ve now made a corner “cluster”).
Now repeat for each remaining corner: chain 1 (a side space), then work (3dc, ch2, 3dc) into the next corner space — repeat this for the other 2 corners. Chain 1, then close the round by slip-stitching to the top of your starting chain-3. You should have 48 total stitches.
A “double crochet” in a US pattern is NOT the same as a “double crochet” in a UK/Australian pattern. US double crochet (dc) = UK treble crochet (tr). US single crochet (sc) = UK double crochet (dc). Always check whether a pattern uses US or UK terminology — usually stated at the top. When in doubt, check the pattern’s country of origin.
Your Pattern Reading Checklist
Before you start ANY pattern, run through this list:
- ✅ Confirmed US or UK terminology?
- ✅ Read ALL abbreviations and special stitch instructions?
- ✅ Read all pattern notes?
- ✅ Made your gauge swatch (if needed)?
- ✅ Gathered all materials listed?
- ✅ Read the full pattern once to spot potential confusing sections?
- ✅ Have stitch markers ready?
- ✅ Know whether turning chain counts as a stitch in THIS pattern?
When a Pattern Still Makes No Sense
Even experienced crocheters hit patterns that genuinely need a second look. Here’s your troubleshooting toolkit:
- Re-read it slowly. Read each instruction one phrase at a time. Break it into individual actions.
- Try it physically. Sometimes the only way to understand a pattern instruction is to literally do the stitch and see what happens.
- Search YouTube. “How to [specific stitch] crochet tutorial” will almost always find a video showing exactly what you need.
- Check the pattern’s comment section or Ravelry page. Other crocheters ALWAYS discuss confusing sections. The answer is usually already there.
- Ask the Crochelly community! A second pair of eyes on a confusing line almost always cracks it.
- Count your stitches. If something seems off, count before continuing. Stitch counts at the end of each row are your sanity check.
Pattern reading is a skill. Your first five patterns will feel like puzzle-solving. By your fifteenth pattern, you’ll barely need to think about it. The confusion is temporary. The skill is permanent. Keep going! 🧶
You’ve Got This
Every pattern that seems impossible right now was once impossible to someone who can now read it in their sleep. That someone practiced, made mistakes, counted wrong a dozen times, frogged a project or three — and then one day it just clicked.
Your click is coming. And when it does, the entire world of crochet patterns opens up to you — millions of designs, every project imaginable, all waiting to become something beautiful in your hands. 🧶💙
📖 Ready to Practice on a Real Pattern?
Browse our beginner-friendly free patterns on Crochelly — all written in clear, fully explained language, designed for exactly where you are right now. Let’s make something beautiful! 🧶✨